


 Posts
Posts


Who doesn't love kisses? Kissing Balls date way back and are a different take of the Mistletoe. I believe they became most popular in the 18th century Victorian Era. ( I am not a historian, so don't quote me;) ) A sign of romance. We all need a little romance right? Here is my take on the Kissing Ball...
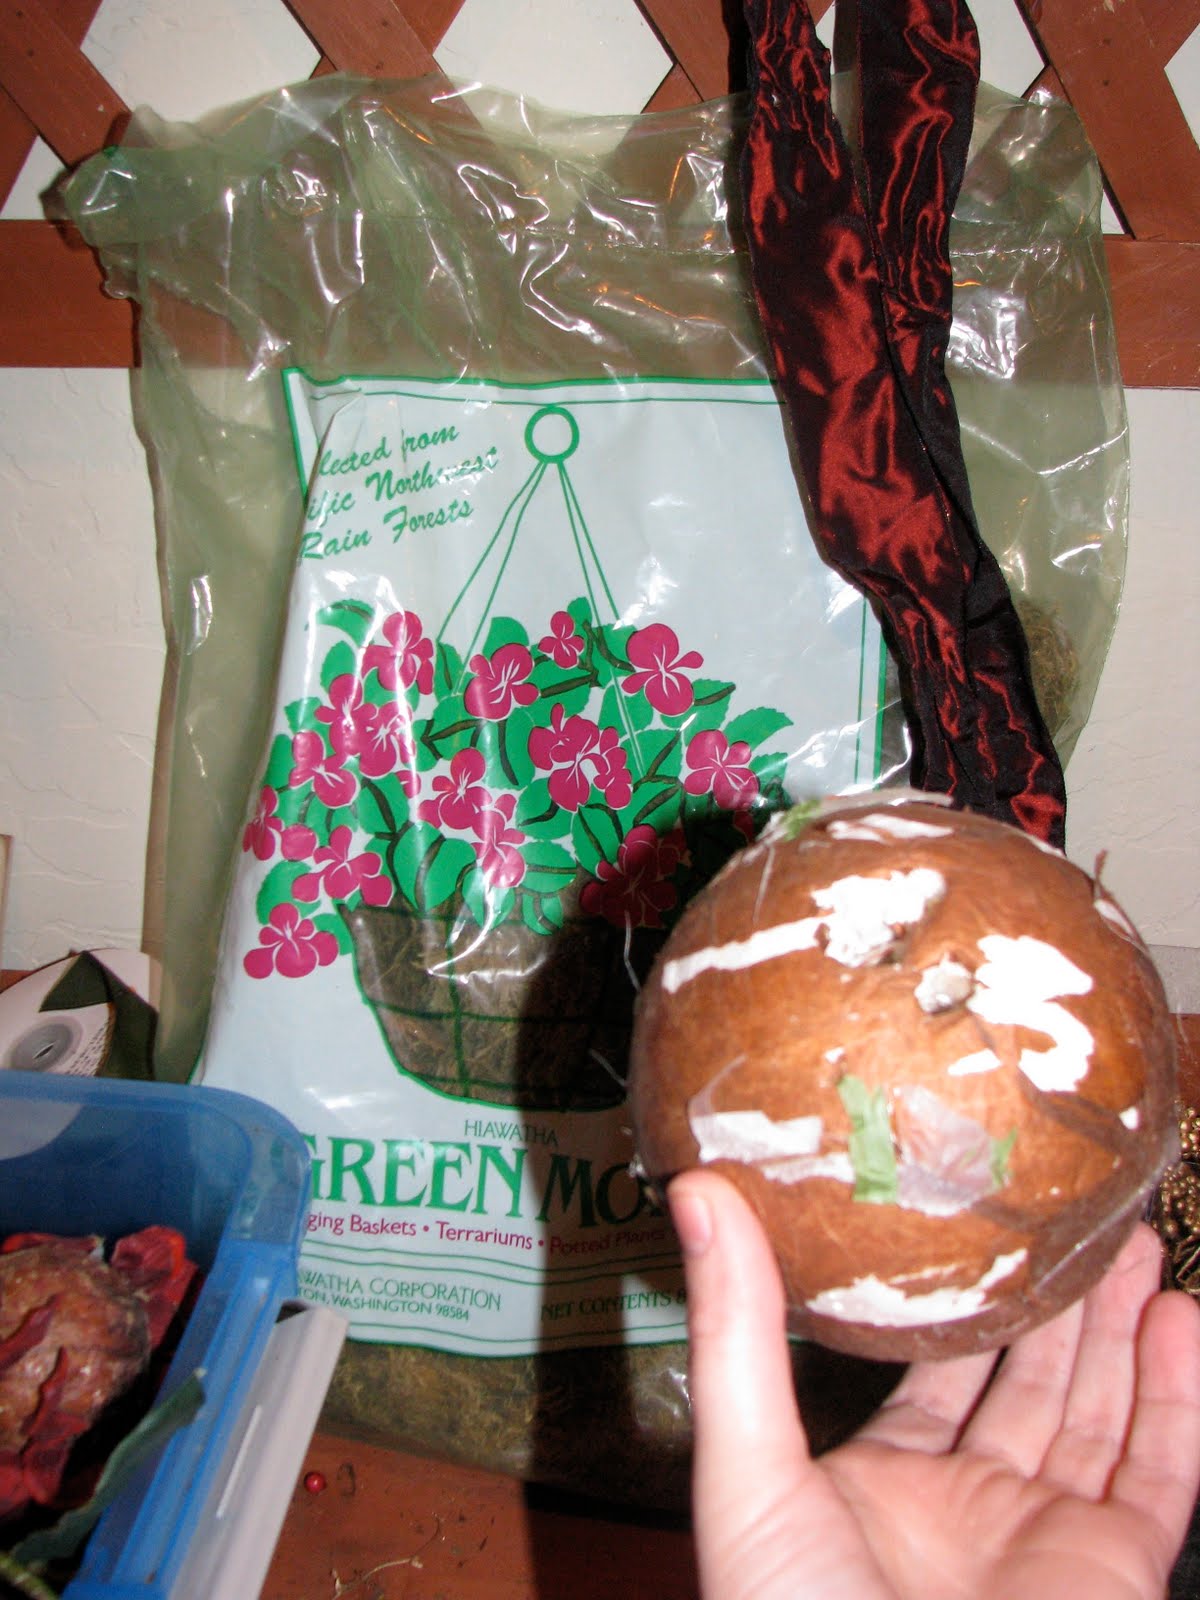
You will need a foam ball, ( I think I used a 4 1/2 inch, but you could use any size) hot glue, moss, ribbon and greenery, berries or whatever you want to decorate it with. I re-used a foam ball from another project, and pulled out my bin of "leftovers". You don't need much for this, so saves those scraps from other projects!!
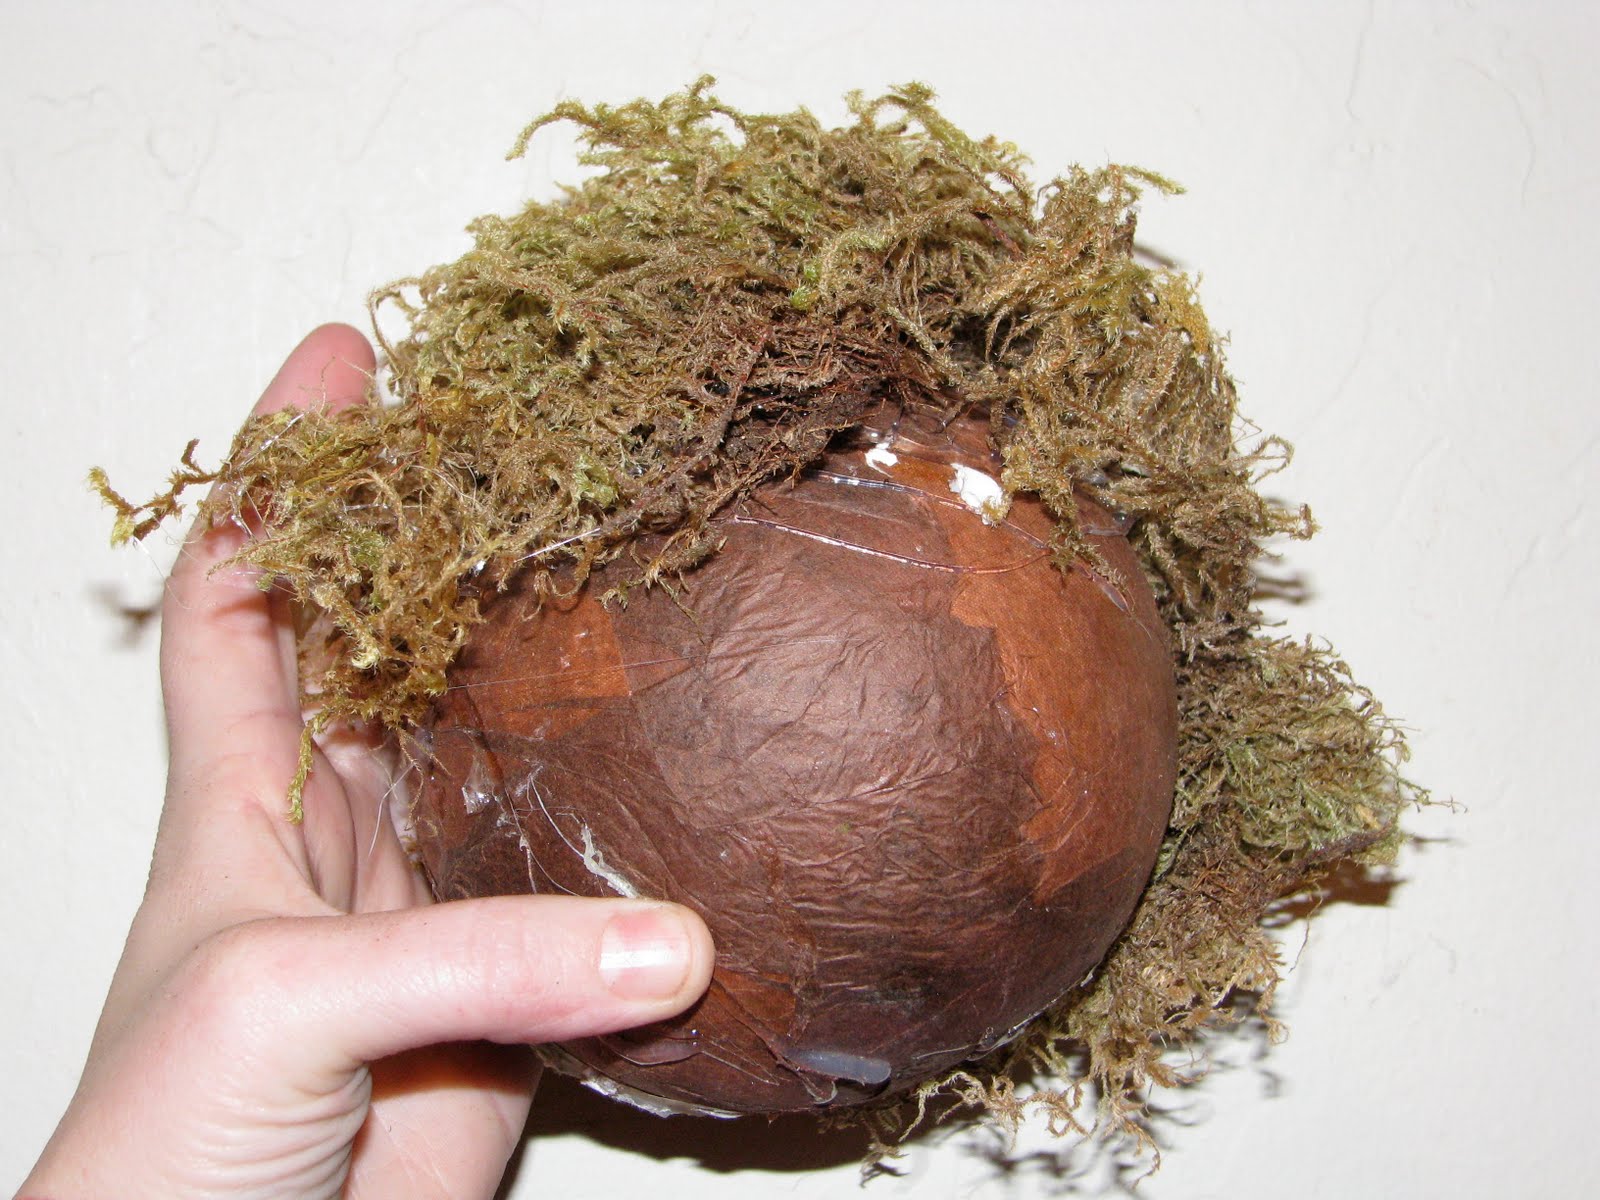
I then started covering the foam ball with the moss. One section at a time, apply some hot glue and then fold the moss over it. I love moss ( in case you didn't know) so I used pa-lenty.

I then pressed it around the ball firmly to form it. If you see places that need more glue or moss, stick it on and then continue to press it around in your hands.

I then took my ribbon, again leftover from a bigger project, and started at the top and wrapped it around to the bottom. Once it is down to the bottom, twist it around itself and then wrap up around the other side, back to the top. Kind of like wrapping a gift. (if this is making any sense at all) The amount of ribbon depends on the size of your ball and how much of a drop you want it to hang. (my hands always look so weird in these pics)

Back at the top wind it underneath your starting point and tie a knot. I leave on end longer than the other because this will be my hanger. You could definitely loop even ends up to hang as well and even tie a pretty bow at the top. The possibilities are endless!! I like to use wired ribbon so I can manipulate it a bit.

Once you have it tied, you can even it out around the ball and even take a pin or a dab of glue to anchor it.

Now for the fun part! You can use pine, holly, mistletoe, ivy. Whatever you have will work...no rules here! ;) Some of these are stuck in the foam, other glued on.

I had this great ornament that broke (of course I saved it) and it had sweet little red pine cones that I used as my "berries" for this project. Simply glued around the top. Ooooh, one day I'll show you what I did with the other broken ornament!!

I then added in some other smallish pine cones along with some more greenery from my "leftovers" bin. (yay!)

I kept adding and playing, playing and adding. I found some green berries in my bin to compliment, some more pine and smaller pieces of ribbon looped through. And...........
(drum roll please)

Here she is in all her Romantic Festiveness!

I think it turned out quite nicely, so I took lots of pictures for ya!

So, all and all pretty simple right? But a great way to add some romance to your holiday decorating!

You can hang them lots of different places. You could even stick them in your tree or hang them from your garland. Inside, outside on your porch, it's up to you! Or, what a fun hostess gift!
No fear decorating here. Just go for it! Everyone is their own worst critic. Don't analyze things to much and again, if it makes your home feel warm and inviting, you've done good!
I'm sharing at...


