Monday, September 26, 2011
My DYI Cloche for Fall
Thursday, September 22, 2011
Exciting Announcement… {Rustik Chic}
I am so over the top excited to let you all be the first to know what I have been working on the last little while.
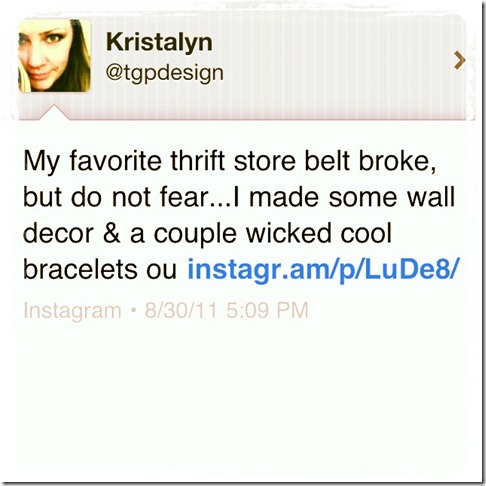
If you follow me on Twitter (& if you don’t, you totally should. I sometimes say funny things;) you may remember this tweet…
And I made me this…
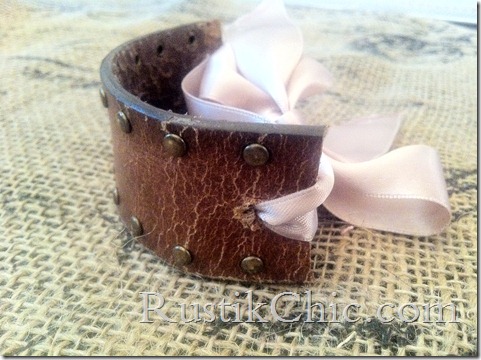
And then my crazy obsession addiction new creative outlet was born. I just kept making them & making them until the only logical thing to do was to start a shop.
Rustik Chic was born.
I’d love for you to check out my Shop and let me know what you think.
RustikChic.com …There are many more one of a kinds designs to come! Boho Chic, Rocker Chic, Vintage Chic…
What make these so great?
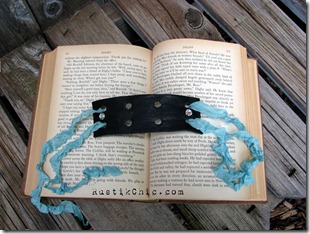
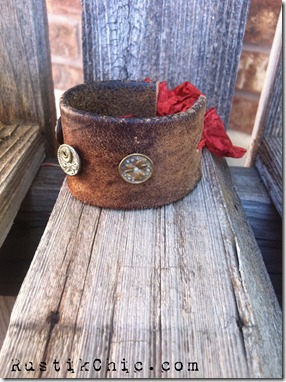
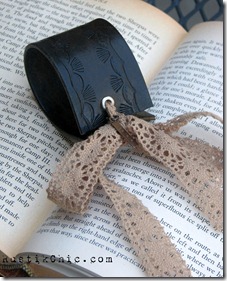
Upcycled from vintage and second hand belts, each leather cuff is One of A Kind. The warm rustic leather and feminine ribbons, create a perfect mix of rustik and chic. Add in some vintage buttons, charms and jewels? Even better!
Each individual cuff is carefully and thoughtfully crafted.
I’ve always felt vintage and second hand items have a certain charm and a history…what story will your special one of a kind piece tell?
P.S. ‘Like’ Rustik Chic on Facebook to stay up on all the upcoming giveaways, promotions and new designs!
A GIVEAWAY here is soon to come!
Wednesday, September 14, 2011
Simple Fall Front Porch
I’m starting to feel that crisp fall air a bit & craving pumpkin spice lattes, so fall must be close! I add a few simple touches to my front porch to help welcome my favorite season.
So far I have made a new wreath and added pinecones to the little planters.
I wanted a simple wreath with a natural look. This was so easy to make. I just used some flowing fall leaf stems and stuck them in a grapevine base starting at the top and working my way down. I wanted them to hang on the wreath base just as if they were growing on it.
To finish it off I hung my wreath from some green burlap ribbon. Another simple touch that I love.
I will probably add a few more things like some pumpkins and gourds, but for now I am feeling content with this simple look.
Is fall close where you are?’
Linking up…
Tuesday, September 13, 2011
Family Room
Sweet Rene over at Cottage and Vine is having her monthly Room to Room Party. I’m a little later for the party, but I thought this it would be fun to link up and a good time to share the progress in my family room.
I am trying to lighten it up a little and bring in some more color…it’s feeling a little too brown. I have removed all of the red that was there and am slowly adding in pops of color and some different textures.
Here is my design board I shared with you a few months back. So far I have put up the curtains, painted the end table, taken away & added accessories here and there, and have put out some temporary pillows to play around with. It is still a work in process, but coming along!
I am really happy with how it is coming together so far. It’s feeling very cozy, very comfortable, very warm and very me…that is what I want for my home. :)
If I can ever get a good picture of my curtains I will show you them in more detail….I love the fabric and what they add to the room. The light behind it is making it difficult. I need to read a tutorial on taking my camera off of auto;)
You can see a couple before shots HERE.
Thanks for taking a look!
Linking up….
Saturday, September 10, 2011
If Your Belt Breaks, Make Something Out of It
My very favorite thrift store belt broke. I was sad. I love the warm worn leather…the metal details…the rustic quality…the story it may tell. I thought of ways to fix it and then it hit me…use it in a different way.
I’ve had these little mirrors from Hobby Lobby that were $2 each. I thought the elegant detail of the mirrors was a great contrast to the rustic belt. I used Gorilla Glue epoxy to attach them securely to belt. I add a piece on the bottom as well to finish off the look. I let it dry for a few hours just to make sure. Using my hand weights…I knew they were good for something;)
To make the hanger I simply looped some ribbon through the belt where the buckle would go. Again another contrast to the worn leather for a unique look.
What do you think? It is now one of my favorite pieces in my home and a reminder to think outside the box!
Here is a sneak peak of another idea that spurred from my broken belt…Stay tuned for an exciting announcement!
Linking UP!

Friday, September 9, 2011
Easy Chalkboard
This is my very inexpensive chalkboard.
I found this little rooster plaque at Hobby Lobby for a few bucks. I loved the frame, but the metal insert doesn’t really fit my decor. I simply popped out the rooster and put in a dollar store canvas. I had to trim it down a little, but it was easy to do. I just measured and cut. Once I new my canvas fit I took it out and gave it a few coats of chalkboard paint. Note: This was the first time ever I had used chalkboard paint…I know, where have I been? ;)
And, here she is! So inexpensive… Easy to put together & I love it. Remember if there is part of something you love and part you’re not so crazy about see if you can change it up. I love the lines and color of the frame and wanted to use it somehow and I found a simple way to do so. Sometimes if it is too much work or costly to do it’s not worth it, but if it is an easy fix like this then go for it!