Saturday, June 25, 2011

Painted End Table

 2011-06-03 001 
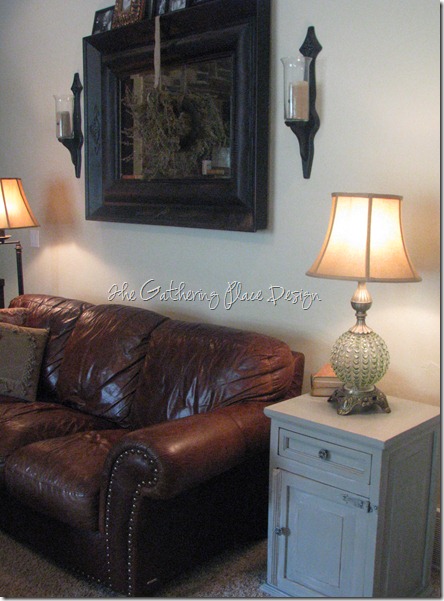
Like I have mentioned, I am working on updating our family room.  Lightening it up…adding some different colors and making it feel less… brown.  Here is another example of how paint can totally transform a piece of furniture.
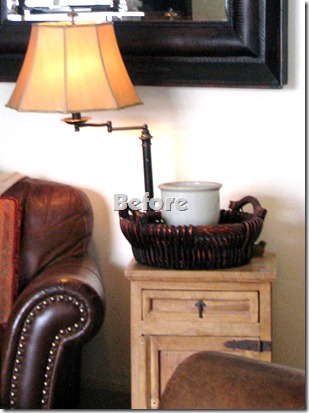
I’ve had this little Pottery Barn end table for 12 years!  I bought it when we were first married & I was working as an apprentice at my mom’s hair salon.  We were really tight on money so using my hard earned $49 at the PB outlet seemed like a huge, frivolous purchase. I think I have got my money’s worth by now. ;)
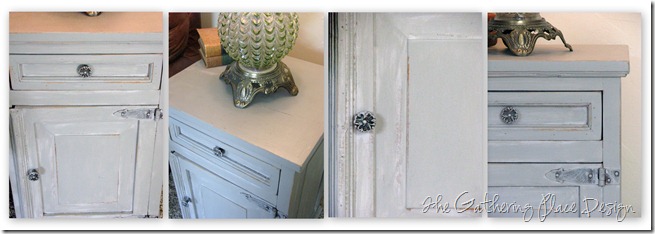
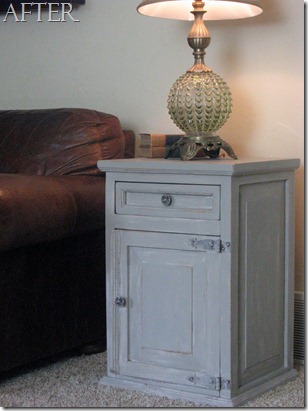
It is sturdy and functional, but just not cohesive with the direction I am headed style wise in this space.  By simply painting it and changing the hardware, it has taken on a whole new look…and I like it mucho better now!
IMG_1343   IMG_1968 
        To achieve my desired look, I first used Martha Stewart’s Cobblestone paint and then a layer of Martha’s Flagstone, painting in a very casual manner.  I sanded the edges a little and I may even add some glaze to give even more contrast and distressing.  I bought my knobs on Ebay for $2 each & I lightly dry brushed them as well as the existing hardware with the same paint.
IMG_1938
It’s coming together people!!  I am feeling excited about the direction I’m headed with the updates.  It already feels some much better in there!
Happy Weekend!

Weekend Bloggy ReadingUndertheTableandDreaming


Wednesday, June 22, 2011

Put Some Meaning in Your Decor

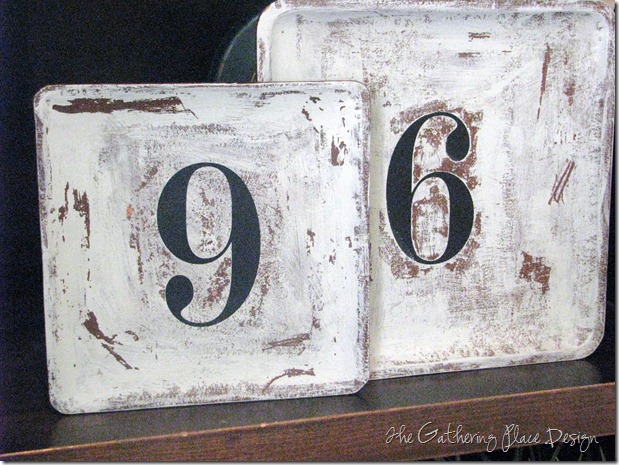
IMG_2033 
Using numbers in home decor is nothing new, but if you use numbers with special meaning it can add such a personal touch to your home along with being an interesting conversation piece.
I had been wanting to incorporate the number 96 into our family room for a while, so when I saw Leen the Graphics Queen was doing a fundraiser with her number decals, I thought it was a great time to order my numbers.  She was raising money for the tornado victims and ended up raising $500!  (You can read about it {HERE}.) Thanks Leen for wonderful decals, excellent customer service and for lending help to those in need.:)
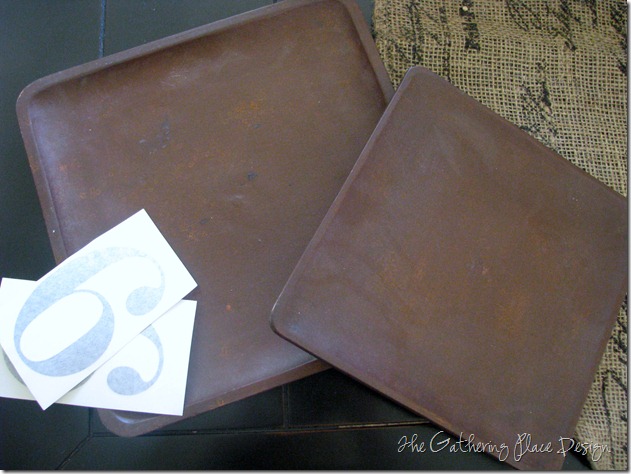
IMG_2025
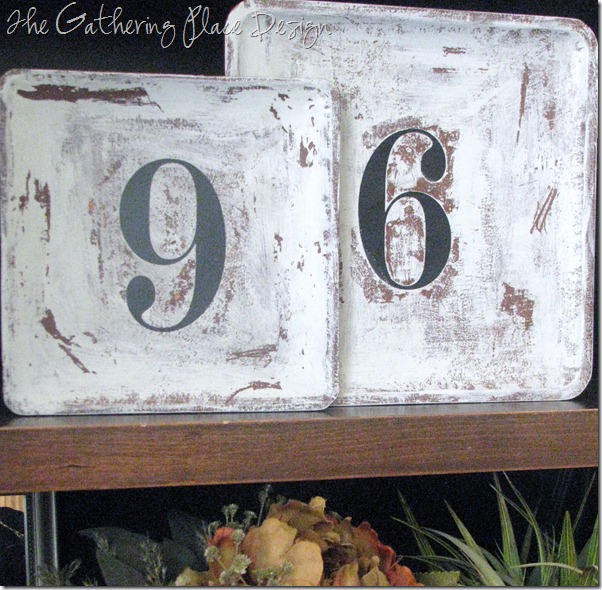
I have had these wood candle chargers for years and they were just collecting dust.  I lightly painted them with the  Glidden paint sample I used on my little mirror.  Next, I simply attached my number decals.  I then took some tape and pressed in on the paint in a few areas to give a more worn look.
IMG_2034
Easy as that!
I love projects like this…super easy, a meaningful display and definitely one of a kind.
They don’t have a permanent home as of yet, but I really am pleased with how they turned out and I know they will add character & interest to our family room. *BTW, for some reason in the pictures the 9 looks duller than the 6, but it really isn’t*
Oh, & why 96 you ask?  It’s the year Mr. Husband & I met…aww, presh, I know;)
Here are a couple more projects where I subtly added some meaningful numbers…

The 36th Avenue

Monday, June 6, 2011

Quick Change Mirror


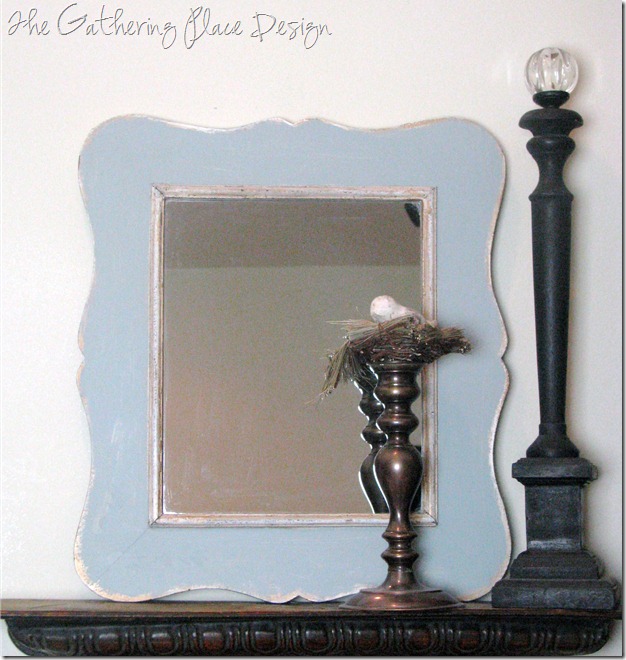
IMG_1985
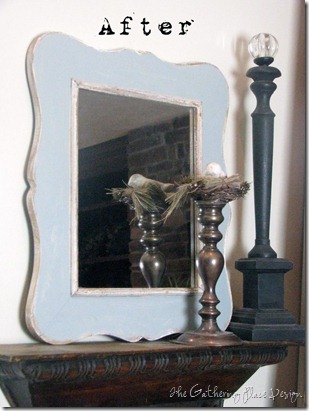
I’ve had this little mirror for years, but as of late she’s just been chillin’ in storage.
I love the shape of it and the details on the edges, but I was over the flowers and wanted some color added to our family room.  I very casually painted the frame leaving the edges alone for a layered & aged look.
~I  used a little sample bottle of Glidden paint called Slate Green. I love using these samples for small projects like this.  Since I wanted a ‘not-so-perfect’ look for this mirror I evened used the little brush included to paint. ~
  IMG_1771     IMG_1981
Literally took me under 5 minutes…what do you think?

Friday, June 3, 2011

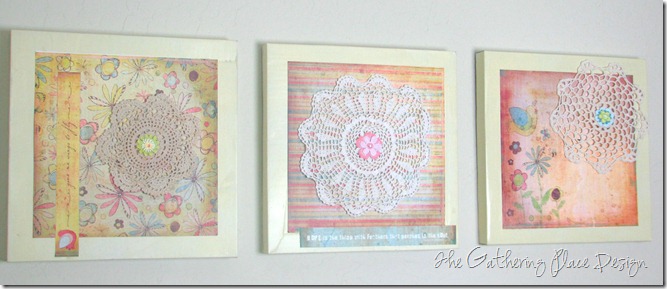
Simple Playroom Art~On the Cheap

 IMG_2010
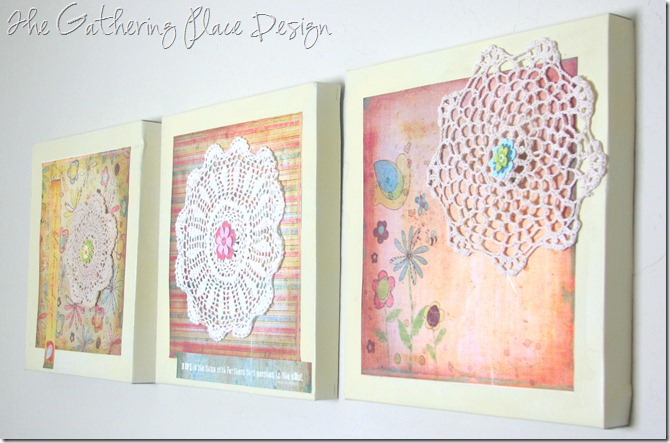
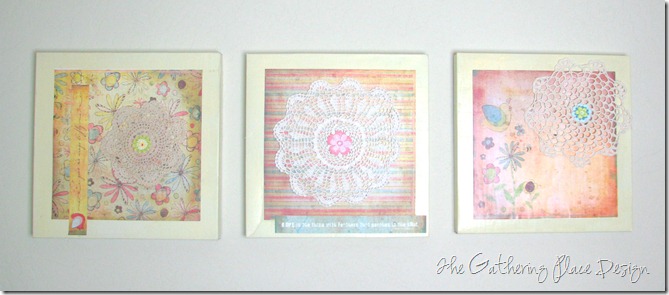
I really am going to finish our playroom one day…PROMISE!  Here is some more proof that I am working on it.  This was soo easy and under $5 for all three!
IMG_2005
I had a few 12” x 12” boxes that I was hoarding had saved from some frames I bought on Ebay.  I spray painted them in a sweet yellow and then attached this too cute scrapbook paper to them with Mod Podge.
  IMG_2011


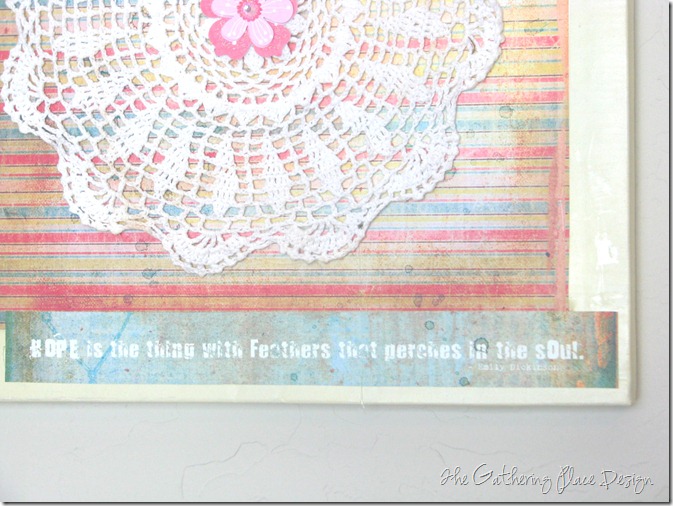
Next I attached some doilies I had with small dabs of hot glue.  {You can find these at the dollar store as well.}  A few little paper flower embellishments in the centers and that was it.  Easy right?  I think they turned out pretty cute and I am feeling motivated  to get moving on the rest of the playroom.  afterweplayatourlakehousethisweekendthatis;)
IMG_2009


**~If you want to check out some of the other progress in our playroom, you can click {HERE} & {HERE}   .~**
Happy Weekend!!! :)

Tidy Mom
A Little Knick Knack

Thursday, June 2, 2011

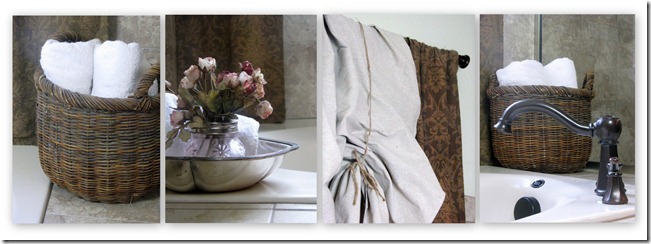
Master Bath & Drop Cloth Valance


2011-06-02 001 
My master bathroom is definitely a work in progress.  But I’ve decided that if I wait to show my house as a completed project, it will never be shared. ;)
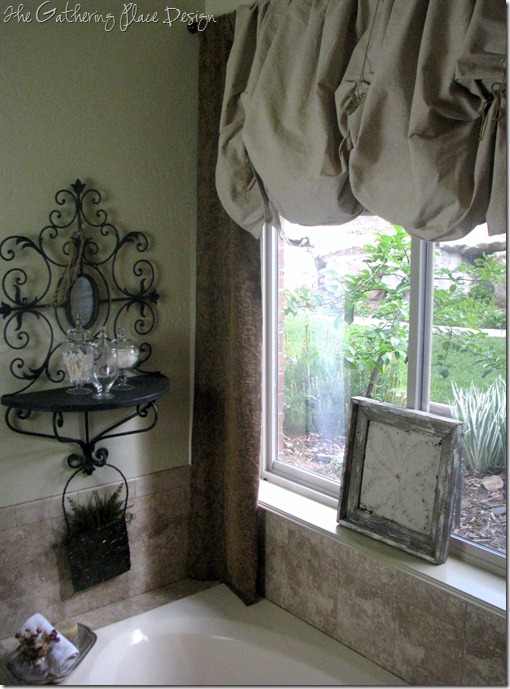
Sooo, here is my drop cloth valance/Target clearance panels.  I am headed for a rustic-chic-cottage feel in my bathroom.  Like I said… a work in progress
IMG_1896
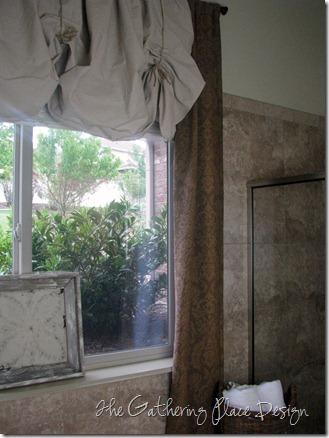
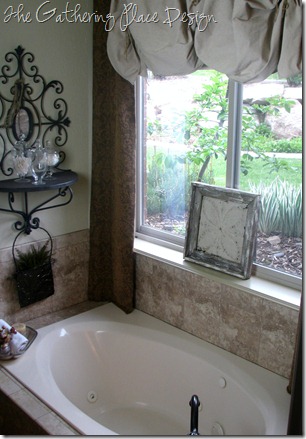
 These are my beyond simple and inexpensive curtains.  To get the rustic chic vibe going I used a drop cloth and simply draped it over my curtain rod in half.  Then I pulled it up in three areas and tied it with jute twine.  Because the drop cloth is so sturdy, it effortlessly gave me the billowing effect I was after.
IMG_1903
Next I took a $5 clearance panel from Target, cut it in half and put one half on each side of my valance.  I love the contrast of the somewhat formal damask paired with the simple and casual cloth.
IMG_1926IMG_1920   


The ceilings are really high in here so I took advantage of that by hanging my curtain rod about 6-8” above the window.  This lifted everything up as well as letting in all of the beautiful natural light.(the same beautiful natural back light that made for some not so great pictures.;)
 IMG_1897
I’m feeling really happy about how it is coming together so far.  A little more color and texture to come in this space, so stay tuned.   I am working on getting our master bedroom & bath a serene relaxing retreat.  It has always taken the back burner, but not any more!  What about you guys?  Is your master bedroom a relaxing sanctuary like I am after, or has it been neglected as well?

Visit thecsiproject.comThe Shabby NestA Little Knick Knack504 Main